February 26, 2020
How to Order Personalized Coordinates Jewelry

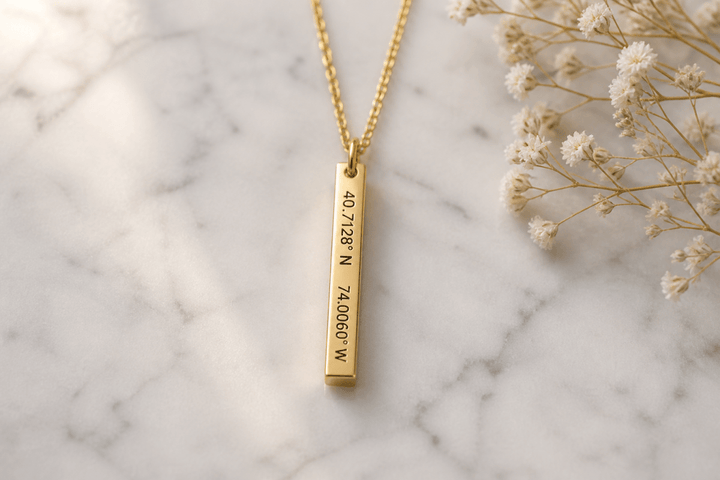
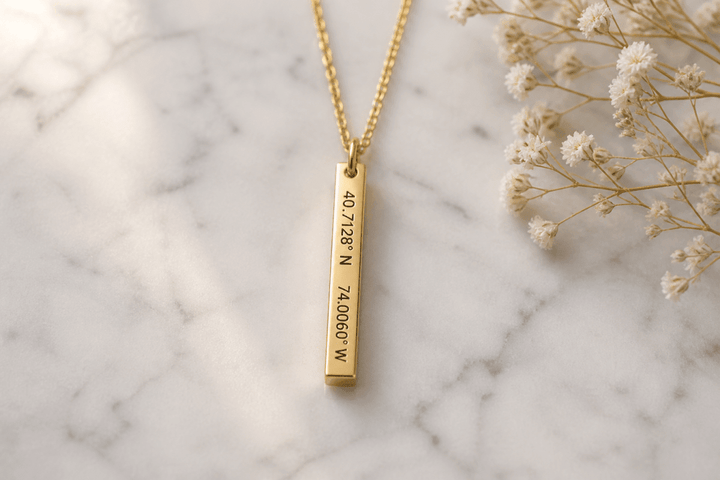
Ordering personalized jewelry should feel meaningful, not confusing. The most important work happens before checkout: choose the right piece, confirm the exact location, and enter every character the way you want it engraved.
This guide explains the full OurCoordinates ordering process. Product options and character limits can vary, so always use the instructions shown on the specific product page as the final reference.
1. Choose a piece that fits the wearer
Start with the personalized jewelry collection and consider what the recipient already wears. Notice their preferred metal color, necklace length, bracelet style, and whether they choose minimal or statement pieces.
Read the complete product description before personalizing. Confirm available colors, sizing, engraving areas, and the number of characters allowed in each field. If a design has multiple lines, decide what belongs on each line before typing.
2. Decide which place tells the story
Write the location in ordinary language first. It might be where you met, a wedding venue, a family home, a favorite trail, or a city that represents a new beginning. If several places matter, choose the one the recipient will recognize most quickly.
For a private residence, consider using a nearby public landmark, the city center, or a less precise coordinate format. Personal meaning does not require displaying an exact address.
3. Find and verify the coordinates
Use a trusted map tool, zoom in, and drop the pin on the exact spot. Copy the latitude and longitude, including direction letters or negative signs where required. Follow our complete coordinates guide for detailed instructions.
Then verify the result a second time. Paste the coordinates back into a map search and confirm that the pin returns to the intended location. Look at nearby streets, buildings, and landmarks rather than relying only on the displayed place name.
4. Format the engraving for the product
Enter the coordinates in the format requested on the product page. Do not add labels, punctuation, dates, or symbols unless the field instructions allow them. Spaces and direction letters may count toward a character limit.
If the product has an engraving preview, use it to review placement and balance. The preview is a helpful representation, while the product instructions and the text you submit remain the controlling order details.
5. Add an optional message with restraint
A date, initials, or a short phrase can support the location when the design includes another engraving area. Keep the message brief enough to remain readable. You can explain the full story in a handwritten note instead of forcing it onto the jewelry.
Copy the message from a plain-text note to avoid accidental smart punctuation or autocorrect changes. Review capitalization and spelling exactly as they appear in the personalization field.
6. Review every option before adding to cart
Pause and compare the completed form with your source information. Check each item below before continuing:
- Correct product, color, material, and size
- Correct latitude and longitude in the requested format
- Correct engraving line and character placement
- Correct date, initials, spelling, and capitalization
- Correct quantity and recipient, especially for matching pieces
Personalized orders are produced from the information submitted, so this review is the best way to prevent an avoidable mistake.
7. Complete checkout and monitor your order
Add the item to cart, confirm the personalization is associated with the correct product, and enter an email address you monitor. Review the delivery address carefully, including apartment or unit details.
Keep the order confirmation and watch for production or shipping communication. We try to share visual confirmation when the workflow allows, but a photo proof before shipping is not guaranteed. Contact support promptly if you notice an error in the submitted information; whether a change is possible depends on the production stage.
A final 60-second check
Before placing the order, search the coordinates one last time and read the engraving aloud character by character. Make sure the product style suits the wearer and the delivery window suits the occasion. A careful minute at checkout protects the meaning you want the finished piece to carry.
Save a screenshot of the pin and your final text with the order confirmation. It creates a simple personal record of the place and makes it easier to explain the engraving when the gift is opened.
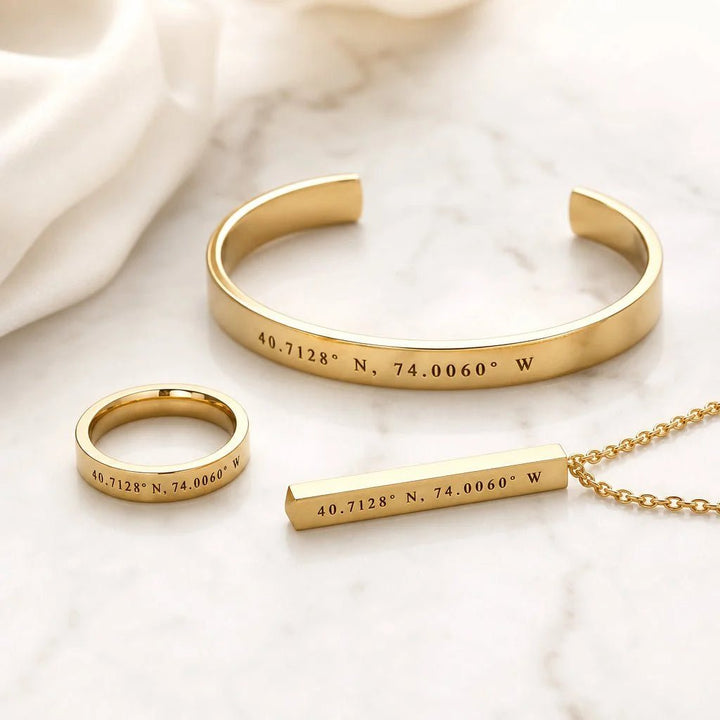
Shop the pieces in this guide


Related guides
- The complete guide to personalized jewelry
- How to find the coordinates of any place
- What to engrave: 50 meaningful ideas
Or browse our best sellers.